The Tennis Overhead Smash | Technique, Strategy, and Drills
The overhead smash is one of the most decisive shots in tennis, yet many club players dread seeing a lob float up because they haven’t built the right technique. If you are one of those players who gets nervous under a high ball, you are in the right place. With the correct fundamentals and some focused practice, you will start seeing lobs for what they really are: an excellent opportunity to win the point.
The overhead (also called the smash) looks simple when the pros hit it, but it is a technically demanding shot. Footwork, preparation, timing, and recovery all have to come together in a very short window. In this guide I will walk you through every key component so you can step onto the court with confidence the next time a lob heads your way.
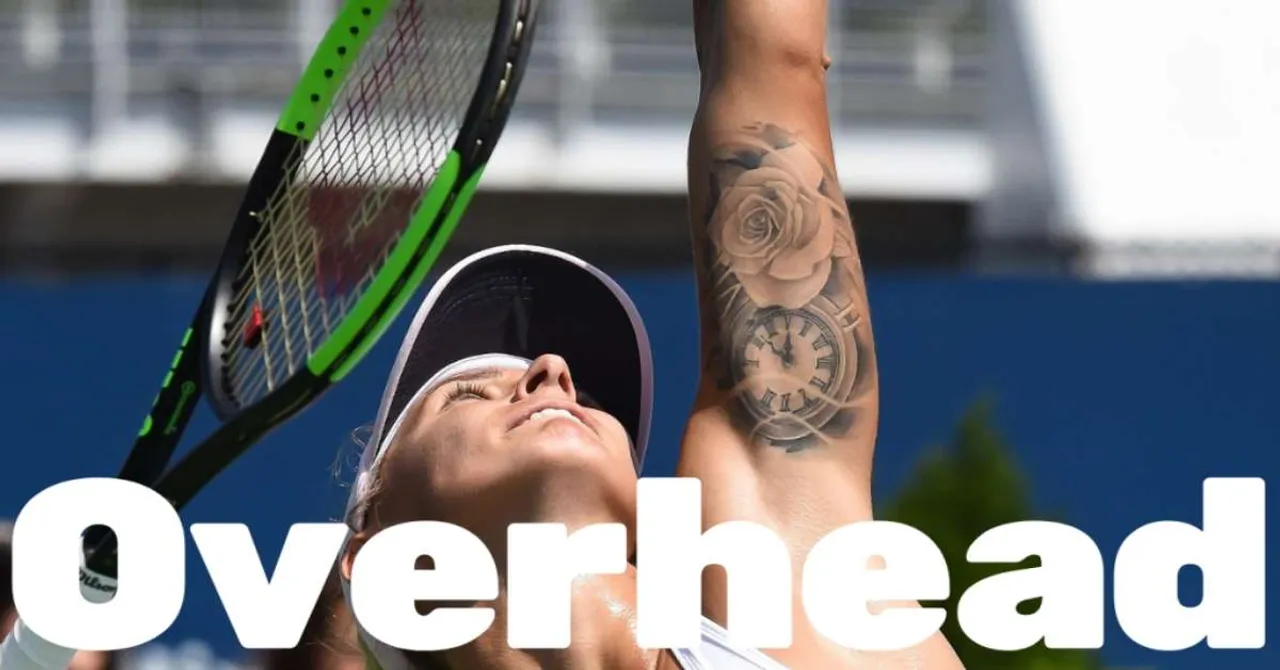
What Is an Overhead in Tennis?
An overhead smash is a shot you hit above your head on the forehand side using a motion similar to the serve. You will typically play it in response to a lob when you are already at or near the net. Footwork, court position, the stroke itself, and post-shot recovery all contribute to a reliable overhead.
Grip
The Continental grip is the standard choice for the overhead, and for good reason. It allows your arm and wrist to pronate naturally through the ball, giving you more power and better angle options. Because you also use the Continental for volleys and serves, keeping it at the net means you never have to waste precious reaction time switching grips.
Hold your racket like a hammer with the base knuckle of your index finger on bevel 2. If you already use a Continental for your serve and volleys, you are all set for the overhead.
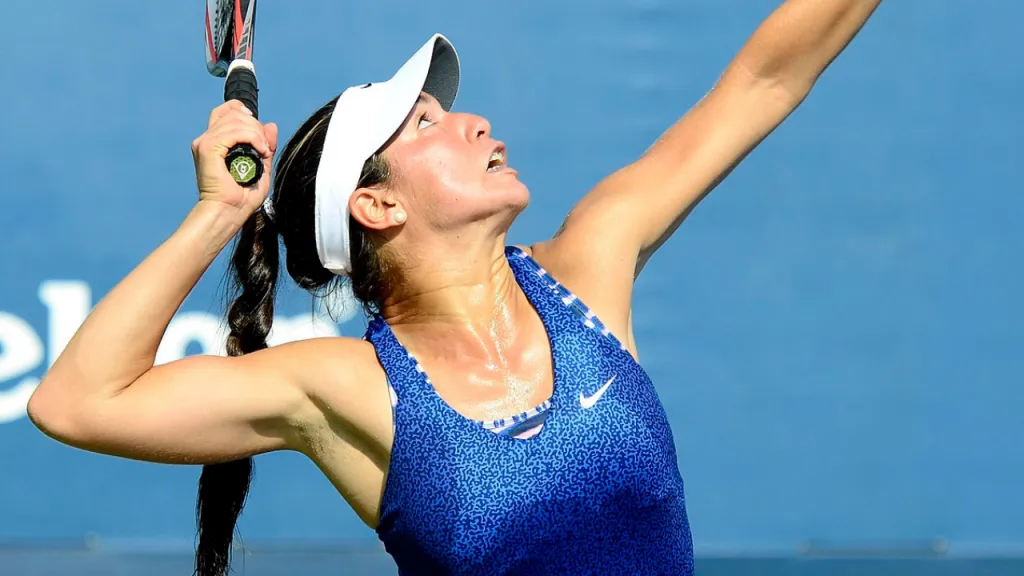
Preparation
Once your opponent sends up a lob, split step immediately and read the ball’s trajectory. Turn your entire body sideways, place your non-dominant hand on the throat of the racket, and start moving to get underneath the ball. If the lob pushes you deep, you will usually need to retreat with shuffle steps or crossover steps.
Think of it the way a quarterback drops back before stepping into a throw. Raise your non-racket arm to track the ball and keep your racket arm relaxed at shoulder height while you are still moving. As you approach your hitting position, bring the racket behind your head into a compact trophy position with your free hand pointing up at the ball.
Position your feet so your body is aimed in the direction you want the ball to go. Your back foot should be roughly parallel to the net, and your front foot angled about 45 degrees toward your forehand side. This stance loads your upper body and sets up the coil you need for a powerful swing.
Point at the ball with your non-racket hand all the way until contact. This keeps your head up, your shoulder turned, and your body balanced. Roger Federer is a textbook example of this habit in action.
Positioning
When you arrive at your hitting spot (sometimes called the power position), the ball should be roughly one foot to your forehand side and two to three feet out in front of you. Getting the ball slightly forward is critical because it lets you transfer your weight into the shot.
The overhead can technically be played from anywhere on the court, but you will hit the vast majority of yours inside the service box. The closer you are to the net, the steeper the angle you can create, which makes the shot much harder to defend. As you move further back, the angle flattens and the shot becomes more challenging.
You can hit an overhead on either side, but the backhand overhead is significantly harder because you face away from the net and lose sight of your target. Whenever possible, move around the ball to take it on your forehand side. If you cannot get into position for a clean swing in time, let the ball bounce first rather than forcing a difficult play.
Lobs with heavy topspin or extreme height can be nearly impossible to time out of the air. If the ball is going to land well inside the baseline, let it bounce. The more predictable trajectory off the bounce gives you a much better chance of a clean contact.
Contact
Step forward and shift your weight into the ball as you swing. Keep your arm and hand loose to maximize racket head speed and natural pronation through the contact zone. Think of it as throwing your racket at the ball rather than steering it.
Your contact point should be out in front of your body and slightly to the forehand side. Shift your weight from your back foot to your front foot, just as you would on a serve. Your body’s momentum should continue forward after contact, setting you up for the next ball.
Follow-Through
After contact, let the racket travel down across your torso and finish around your opposite hip. Compared to a full serve motion, the overhead follow-through is more compact. Because you move into the trophy position quickly, the swing is shorter and more direct.
Recovery
Your job is not done after you hit the overhead. If you are in the backcourt, move toward the net as quickly as possible before the next ball arrives. Getting back inside the service box puts you in the best position for a put-away volley or a second overhead.
One of the biggest mistakes club players make is admiring their overhead instead of recovering. Even on a well-struck smash, expect the ball to come back. Move forward, stay balanced, and be ready for one more shot.
Overhead Strategy
Where to Aim
Target your overhead away from your opponent whenever possible. Your primary goal is to make them move, because returning any shot while on the run is significantly harder. You do not need to go for an outright winner every time. A well-placed, aggressive overhead puts you in control of the point and sets up the next shot for a clean finish.
Telegraphing Your Shot
It is perfectly acceptable for your opponent to read your alignment when you are in the ready position. An overhead is not a deception shot. The advantage comes from the angle, pace, and court position you create. Even if your opponent guesses the direction, their only real options are to punch it back or throw up another lob.
Overhead Practice Drills
Toss and Smash
BeginnerThis solo drill builds the overhead motion from scratch. By tossing the ball yourself, you control the height and placement, which lets you focus entirely on footwork and contact point.
- Stand at the service line and toss the ball slightly in front of you with your non-racket hand.
- Turn sideways, track the ball with your free hand, and hit an overhead into the opposite service box.
- Focus on a smooth, compact swing rather than power.
- Hit 20 balls, then move to the net and repeat from closer range.
Lob and Smash Rally
IntermediateThis partner drill simulates real match situations. Have your partner vary the depth and height of the lobs so you practice adjusting your footwork under different conditions.
- One player stands at the net, the other at the baseline.
- The baseline player feeds a lob to the net player.
- The net player hits an overhead and recovers to a ready position.
- The baseline player catches or retrieves the ball and feeds the next lob.
- After 10 overheads, switch roles.
Final Thoughts
Consistency is the foundation of a reliable overhead. This shot should put you firmly in command of the point, not necessarily end it outright. Think of the overhead as a setup tool: one well-placed smash creates the opening for a winning volley or a second overhead that your opponent simply cannot reach.
If you want to become a more complete net player, pair your overhead work with practice on your volley and return of serve. The more comfortable you are at the net, the more pressure you put on your opponent with every approach.
Frequently Asked Questions
When should you use an overhead shot in tennis?
Who has the best overhead in tennis?
Should I let the ball bounce before hitting an overhead?
How do I stop missing overheads?
More in Tennis Strokes
How To Hit Your Tennis Backhand In A Few Simple Steps
Master your tennis backhand with this step-by-step guide. Learn one-handed and two-handed technique, grips, topspin, and slice from a coaching perspective.
The Tennis Drop Shot: Technique, Tactics, and Tips
Learn how to hit a winning drop shot in tennis. Master grip, disguise, timing, and tactics with pro tips from Alcaraz, Federer, and Djokovic.
Hit a Powerful Tennis Forehand in 6 Simple Steps
Learn how to hit a powerful tennis forehand with proper grip, stance, and swing technique. Step-by-step guide covering topspin, drills, and common mistakes.
The Tennis Lob: Offensive and Defensive Technique Guide
Master the tennis lob with this complete guide covering offensive and defensive techniques, grips, footwork, drills, and common mistakes to avoid.
How to Return Serve in Tennis: Positioning, Timing and Tactics
Learn how to build a consistent, aggressive return of serve with positioning, split step timing, grip selection, and tactics used by the best returners.
How to Volley in Tennis: Technique, Footwork and Drills
Master the tennis volley with proper continental grip, footwork, and contact point technique. Includes drills and tips from a coach's perspective.